
How to Use Binance Chain Decentralized Exchange (DEX): A Step-by-Step Guide for Beginners
If you are exploring the world of decentralized finance (DeFi), you may have encountered the term "Binance Chain decentralized exchange" (DEX). Unlike centralized platforms like Binance.com, a DEX allows you to trade cryptocurrencies directly from your wallet without giving control of your funds to a third party. This guide will walk you through the basics of how to use a decentralized exchange built on the Binance Chain (now BNB Chain) ecosystem.
First, it is important to understand the key difference: on a centralized exchange (CEX), you deposit your coins into the exchange's wallet. On a Binance Chain DEX, you retain full custody. Trades are executed via smart contracts. The most common DEX in this ecosystem is PancakeSwap (on BNB Smart Chain), though there are others like Biswap or BabySwap.
Step 1: Set Up a Web3 Wallet
To use any Binance Chain DEX, you need a compatible wallet. The most popular choice is MetaMask, but you can also use Trust Wallet, WalletConnect, or Binance Chain Wallet. After installing the browser extension or app, you must configure your wallet to connect to the BNB Smart Chain network. If you use MetaMask, you will need to add the BNB Smart Chain Mainnet manually using details (RPC URL, Chain ID, etc.) from the official BNB Chain documentation. Ensure your wallet is on the correct network before proceeding.
Step 2: Fund Your Wallet with BNB
You need BNB (Binance Coin) in your wallet to pay for transaction fees (gas) on the network. You can buy BNB on a centralized exchange like Binance, then withdraw it to your wallet address. Alternatively, you can swap other crypto for BNB using a bridge. Without a small amount of BNB for gas, you cannot complete any trades on the DEX.
Step 3: Connect to the DEX
Go to the official website of the DEX you wish to use (always verify the URL to avoid phishing sites). Click the "Connect Wallet" button (often located in the top right corner). A list of wallet providers will appear. Choose MetaMask, Trust Wallet, or WalletConnect. Your wallet will request permission to connect. After approval, you will see your wallet address and balance displayed on the DEX interface.
Step 4: Swap Tokens
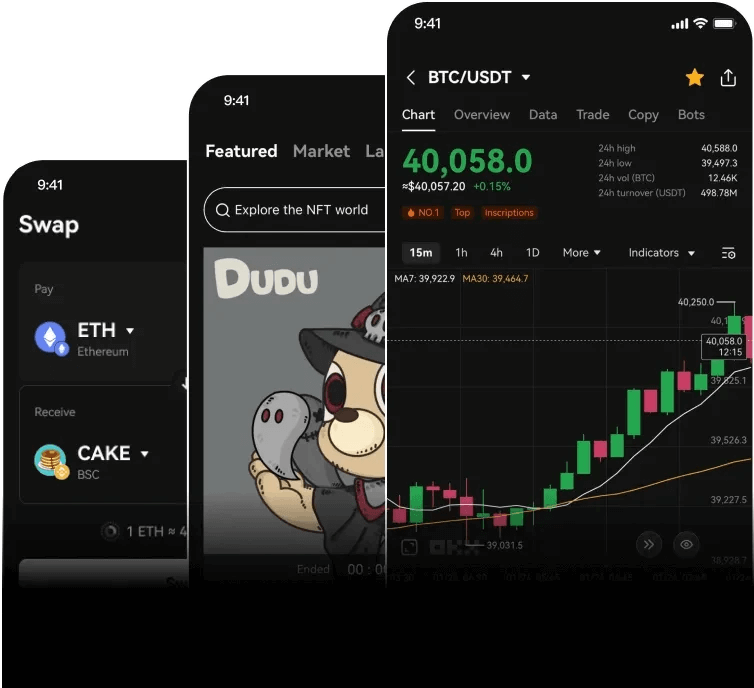
On the main trading page, you will typically see a "Swap" or "Trade" tab. Here, you select the token you want to sell (e.g., BUSD) and the token you want to buy (e.g., CAKE). Enter the amount. The DEX will automatically calculate the estimated output based on the current liquidity pool. You can adjust the slippage tolerance (the price change you are willing to accept) by clicking the settings icon. A low slippage (e.g., 0.5%) is safer for stable pairs, while volatile pairs may require 1-2%. Click "Swap," then "Confirm Swap" in your wallet pop-up. Wait for the blockchain to verify the transaction.
Step 5: Review Your Transaction
After a few seconds, you can see the transaction confirmed in the "Recent Transactions" panel or by checking your wallet. You now own the new tokens. If they do not appear in your wallet, you may need to "import" the token contract address manually (found on the DEX page or a block explorer like BscScan).
Important Safety Tips
Always double-check the token contract address when trading less known assets, as there are many scam tokens. Never share your private key or seed phrase. Additionally, be aware of "impermanent loss" if you use the Liquidity Pool (LP) feature, and only invest what you can afford to lose. Finally, always use the official DEX website; bookmarks are safer than search engine links.
Using a Binance Chain DEX is straightforward once you understand wallet setup and gas fees. It offers greater control and access to new tokens before they hit centralized exchanges. Start with a small test transaction to become comfortable with the process. As you gain confidence, you can explore advanced features like staking, yield farming, and providing liquidity.

发表评论